Generate Documents
Review the Generate Documents video in the Resources & Videos section for additional information.
-
Click the Documents
 icon in the right-hand navigation column from within a loan file.
-
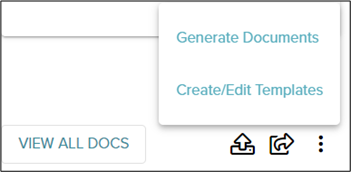
Click the Menu
 icon from the bottom of the right-hand navigation column to expand the options.
-
Click Generate Documents.
Alternate Process:
-
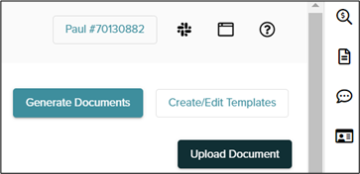
Click the Documents
icon in the left-hand navigation column from within a loan file.
-
Click Generate Documents in the top, right-hand corner of the Documents page.
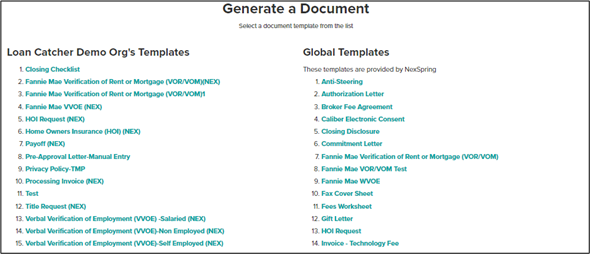
The generated documents are divided into two lists.
The documents on the left are customized for your organization and the documents on the right are global, industry-wide documents/request forms.
-
-
Select the document you wish to generate from the list.
All relevant information entered in LoanCatcher℠, such as name, address of applicant, subject property address, and pricing information, populates in the document automatically.
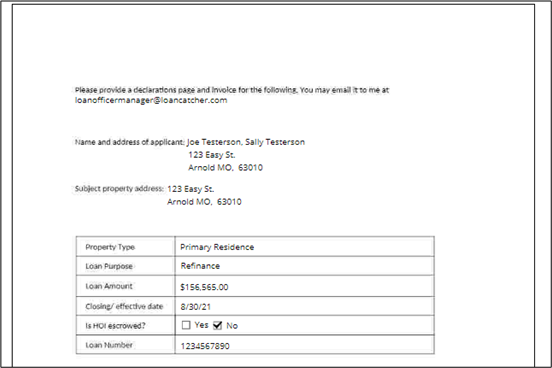
 Document preview may appear blurry, however, the final generated document is not blurry.
 -
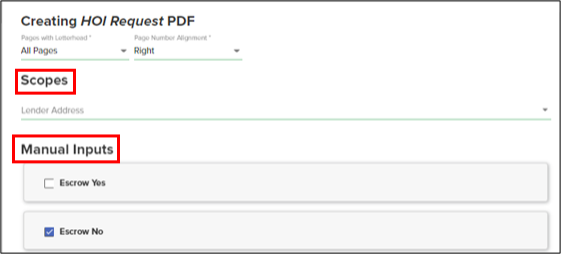
Complete any applicable fields in the Scopes and Manual Inputs sections as needed to finish the generated document.
-
Select the appropriate option at the bottom of the screen.
 \
\
-
Back to Template Selection: Takes you back to the list of templates. All changes will be lost.
-
Attach Document: Allow you to attach a cover sheet. See Attach Document section below for instructions..
-
Share Document: Allows you to email the document immediately.
-
Download PDF: Downloads a PDF version of the document to your device.
-
Save to Loan File: Saves the completed document to the Documents Page under Pending Review.
-
READY TO E-SIGN COMING SOON. Sends the document for e-signatures.
-
Attach Documents
-
Select Attach Documents to edit and attach a fax cover sheet to a document.
-
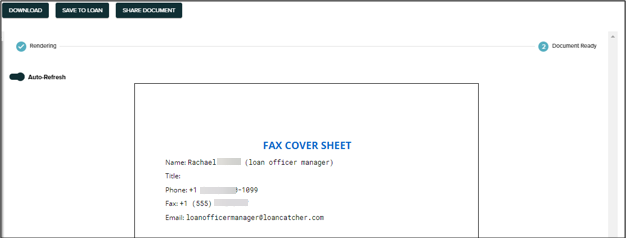
Verify the sender information which populates automatically.
-
Indicate where to add the cover sheet from the Document Order dropdown.

-
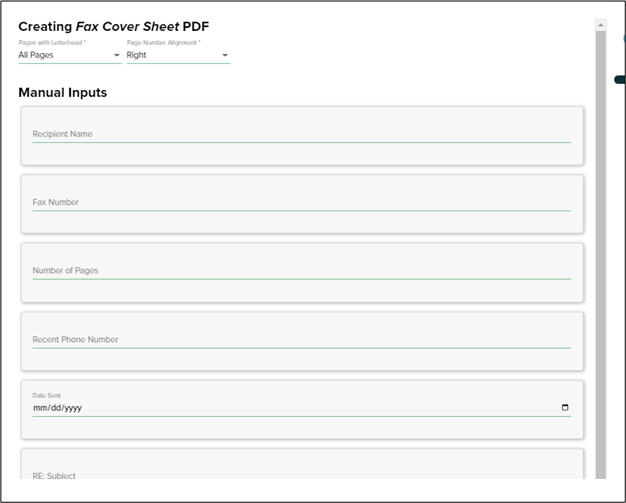
Complete the Manual Inputs on the left.
-
Select the appropriate option at the top of the screen after the manual inputs are complete.

Auto-Refresh
When Auto-Refresh is on, the right-side document preview automatically refreshes to reflect each input as it is entered on the left-side Manual Inputs section. This can result in multiple, consecutive refreshes. Optionally, you can turn off the Auto-Refresh feature. This allows you to manually force a refresh when you desire by clicking the refresh pdf preview link.
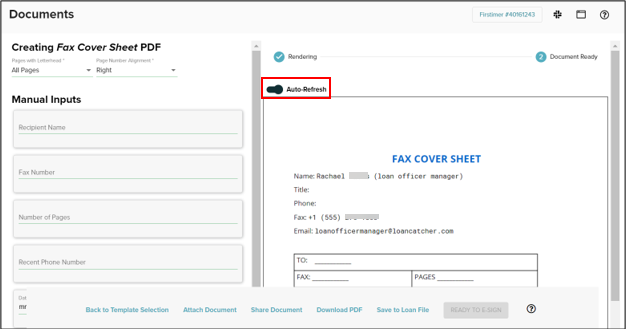
Example of Auto-Refresh toggled on:

Example of Auto-Refresh toggled off:

